UPDATED: February 19, 2025
Now that it’s getting colder, is there anything better than curling up with a hot cup of tea and a great book, and just losing yourself for a few hours?
Except…all that curling up can do a number on your body! Spending a long time without moving isn’t great for our tissues, causing inflammation, stiffness and even impacting our blood glucose levels. Plus being curled up isn’t necessarily good for our spines, pelvic floor tissues & hips, either.
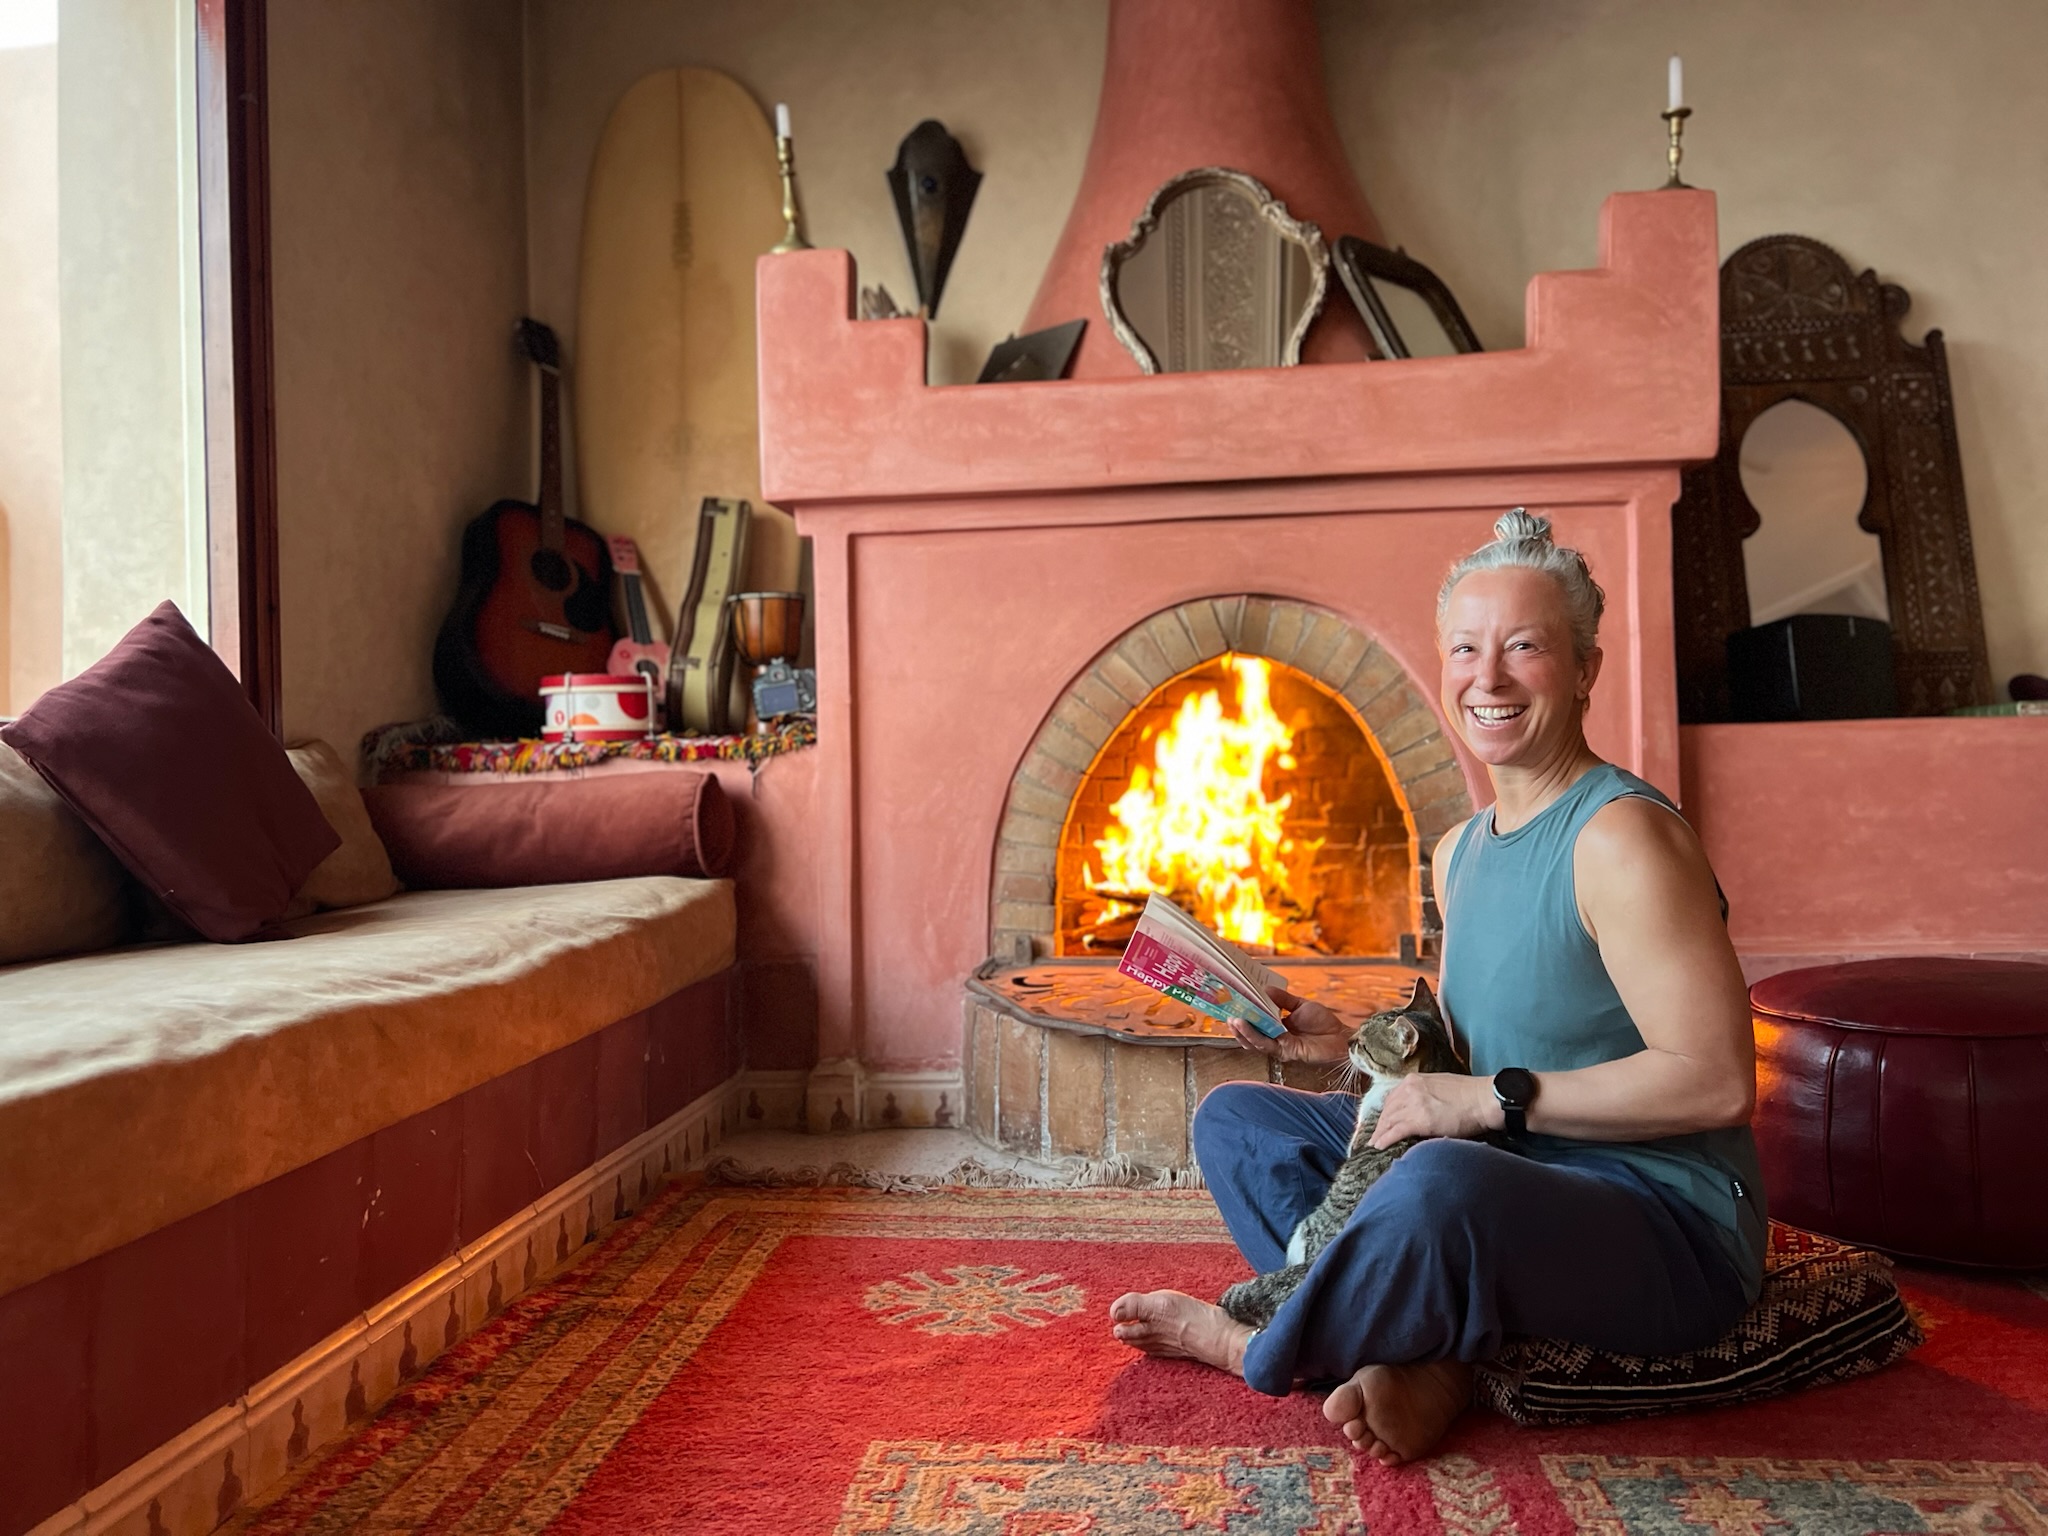
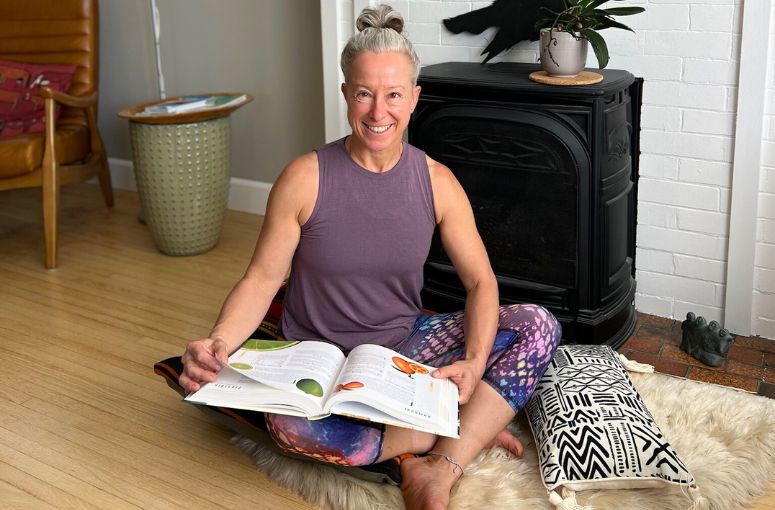
Fortunately, there’s an easy solution! Make yourself a cozy reading nook on the floor and try out these 7 different reading positions to give yourself a ton of movement and movement variety while you cuddle with your favourite novel.
Just cycle through these options, changing your position every 5-20 minutes, and your body will be so grateful! Or start here and then get creative to see what else works for you!
Position One: Reading In A Wide Legged Vee Wall Stretch For Tight Inner Thighs & Improved Pelvic Floor Health
This is a great one for anyone with tight inner thighs. Inner thigh tightness often goes along with pelvic floor issues so this can have great pelvic floor benefits, and will support a healthy walking gait too since inner thighs are also involved in walking.
How to do it:
👉 Get close to a wall and wriggle to rest both your heels on your wall
👉 Gently allow your legs to spread wide – find a nice stretch you can sustain for a while
👉 Try to keep a natural curve under your low back – you’ll get a better load on your legs and hips if you don’t allow your pelvis to tilt back and tuck.
👉 Are your ribs popping up? If so, add a bit of support under your head and shoulders. Not sure what I mean? Grab my free Ribcage Magic video series for all the info!
Want small, simple exercises that fit into your day?
Position Two: Boost Circulation & Relaxation By Reading With Legs On The Wall
You have two options here. If you have tight hamstrings and want to gently ask them to lengthen, try it with your pelvis on the ground and your pelvis untucked – that’s the key to loading the backs of your legs.
If you want to focus on relaxing and circulation, then use a yoga block or cushion under your pelvis like I’m showing in the demo. According to Jill Miller of Tune Up Fitness, relaxation is one benefit of spending time in a position with your pelvis lifted, “a little bit higher than your heart, and your heart is a little bit higher than your head and neck. This position sets off a cascade of responses in what’s known as the baroreceptor reflex. When your heart and pelvis are slightly higher than your brain, these sensors in the side of your neck sense that more blood is rushing towards your brain. The brain can’t tolerate more blood than it needs. This feedback loop travels through the vagus to the brainstem and ends up slowing down your heart rate, constricting the blood vessels and slowing down your breathing.”
(The excerpt above was taken from an interview Jill Miller did about her book, Body By Breath. FYI, Jill’s talking about a different pose here but the set up and benefits are the same. You can read the entire interview right here.)
This position may also improve lower leg circulation and lymph flow, and reduce feelings of fatigue and back pain.
How to do it:
👉 Get close to a wall and wriggle to rest both your heels on your wall with your legs straight up
👉 Option One – for hamstrings: Maintain a natural curve under your low back
👉 Option Two – for relaxation – add a yoga block under your sacrum to raise your pelvis higher than your heart
Position Three: Belly Down Bolstering For Tight Hips, Better Pelvic Floor & Knee Health
Do you spend a lot of time sitting in a chair? This option gives your body some gentle hip extension – the opposite of what happens when you’re in a chair or sofa (hip flexion). Getting better at hip extension can help relieve persistent feelings of tight hips, and improve your hip mobility for walking, and supports a happy low back, better pelvic floor function & healthy knees.
How to do it:
👉 From a prone position, place a cushion or half round foam roller under your hip points – make sure that your pubic bone rests on the ground so that your pelvis is tilted, with the top (where your hip points are) higher than the bottom.
👉 It’s very easy to let your ribs drop in this position, which isn’t ideal for your spine. You can pick them up using muscle like I do in the demo, or you can make life easy by putting a yoga bolster or cushion under your low ribs so they can’t just drop down (for more about rib position, check out my free Ribcage Magic video series).
Position Four: Relieve Hip Stiffness & Nurture Your Pelvic Floor By Reading In Supine Cobbler Pose
This is a great option for your hips & inner thighs, which means it’s also nurturing for your pelvic floor! For many folks, it can be uncomfortable to stay in a position like this for a long time. The secret to making it more accessible is to bolster up anything that’s not comfortable – you can use support under one or both knees, which will make the position less intense and allow you to relax and get more benefits.
How to do it:
👉 Lie facing up and bring the soles of your feet together, allowing your knees to gently drop out to the sides.
👉 Use bolstering under your head and shoulders if this position makes your ribs pop up (most people will benefit from this – see my free Ribcage Magic series for more details!).
👉 As always, it’s more helpful for your hips if your pelvis is neutral – which means your low back has a natural curve and your pelvis is untucked.
👉 For extra intensity, you can cross one low leg over the other and rest the top foot on your bottom shin. And for more variety, explore putting your feet in different positions – further away from your body or closer.
Position Five: Read In The #4 Wall Stretch To Improve Your External Hip Rotation Mobility
If you want to work on your hip external rotation mobility, this one is your best friend!
How to do it:
👉 While lying face up, place your feet on the wall with your knees bent around 90 degrees (this can vary depending on your hip mobility)
👉 Cross one leg over the other and adjust your position so you feel a stretch in the outer hip of the leg that’s crossed over. You can get more stretch by moving your body closer to the wall or pushing your knee further out.
👉 Once again, make sure your pelvis is untucked and your ribs are relaxed down, using bolstering under your head and shoulders as needed (here’s a demo of how changing your pelvis position can impact this same stretch in a seated position)
Position Six: Simply Sitting On The Floor Improves Your Hip Mobility As You Read
Sitting on the floor in any position is a good option, but you want to find a way to sit that’s comfortable for your body. I personally like cross-legged sitting, with bolstering under my sit bones & knees, like I’m showing in the video. And yes, if you want more helpful mobilization for your hips, sitting with your pelvis untucked will help! Here’s how.
Position Seven: Get The Benefits of Squatting By Using Support
Squatting as a movement pattern is great for your body but it can be pretty intense if you aren’t used to it. Simply using some support under your pelvis can allow you to squat in comfort as you read, which can over time, help your body be happier with unsupported squatting as well. Try it with your legs both narrow and wide!
(For more help with your squat, try my free Start Squatting Challenge.)
Want small, simple exercises that fit into your day?
A few more tips
Make it comfortable
Reading at ground level will feel a lot better if you make yourself a cozy floor space to read in. There’s nothing worse than lying on a cold, hard, concrete floor because it’s ‘good for you’. Set yourself up with a soft carpet and a variety of pillows, cushions and blankets – these will all help you vary your position as you read, as well.

Struggling with getting to the floor? Try this:
If you love the idea of moving more as you read but you’re struggling to get up and down from the floor, you may want to start with this blog post first – it’s packed with ways to increase your strength and mobility for floor sitting, as well as my key tips to make it more comfortable for your body (hint: it’s all about bolstering).
Find a movement friendly book!
And if you’re not quite sure what to read while you try out these ideas, may I suggest you try Move Your DNA by my teacher, Katy Bowman? It’s essential learning on exactly why movement – and not just exercise – is so essential when it comes to looking after our bodies. It’s also a really great book, I think I’ve read it at least 10 times!
Want more ideas?
Finally, if you love these ideas and want more movement tips that you can add to your real life, I have amazing news for you! I’ve created a new program packed with totally doable ‘Mini Moves’ that you can literally do any time, any where (no matter what else is going on, no special equipment needed). I’m suuuper excited to share these. If you’re ready to learn small but powerful exercises to move more, click here to get started today!
Want short & sweet exercises you can do even when life is busy?
Sign up for my new Mini Moves program and learn super do-able exercises that give your body more movement all day long – no gym, studio or special equipment required!


