So, you’re thinking of getting back on the monkey bars…but it’s been a really long time since you tried!
I think that’s a great idea – hanging & swinging are a brilliant way to nourish your shoulders, spine, & core, improve your grip strength, and even support your breathing capacity, breast tissues & pelvic floor function! (Learn more about the benefits here.)
The best part? Hanging & swinging are also suuuuper fun & satisfying!!
The bad news? Hanging is no joke – it’s a really challenging movement pattern that demands a lot of strength & mobility.
But the good news is that it’s totally possible to learn how to climb, hang & swing on the monkey bars again so that you can make hanging a regular part of your day!
So here’s my step by step guide to getting yourself back on the monkey bars and swinging like a pro!
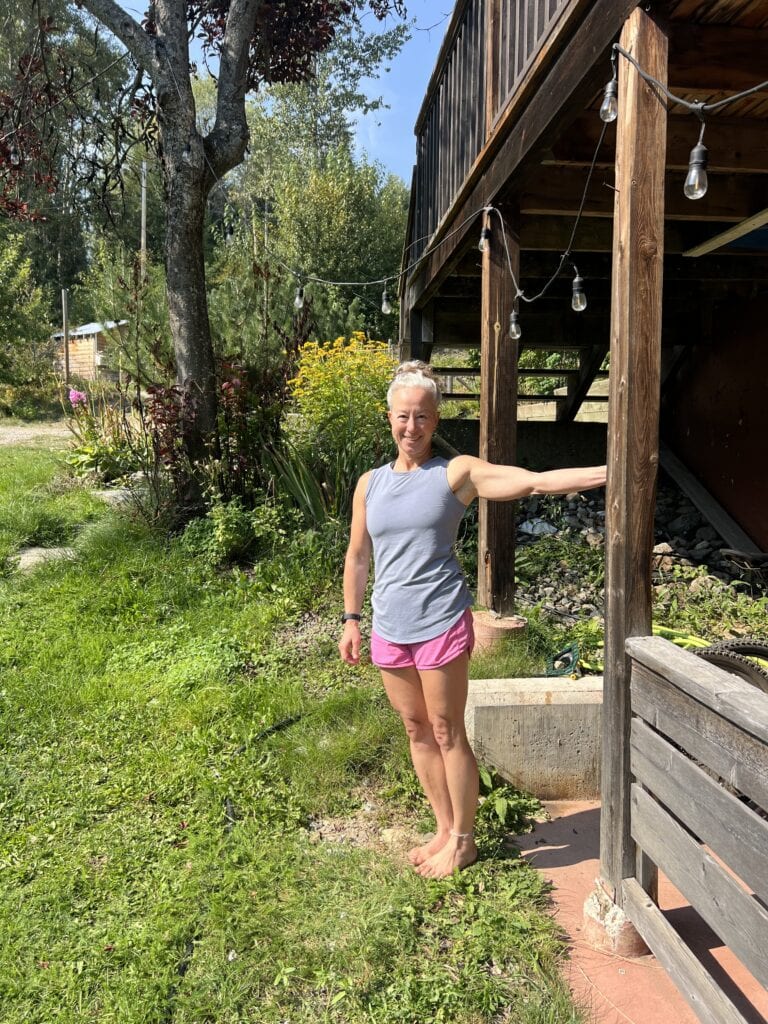
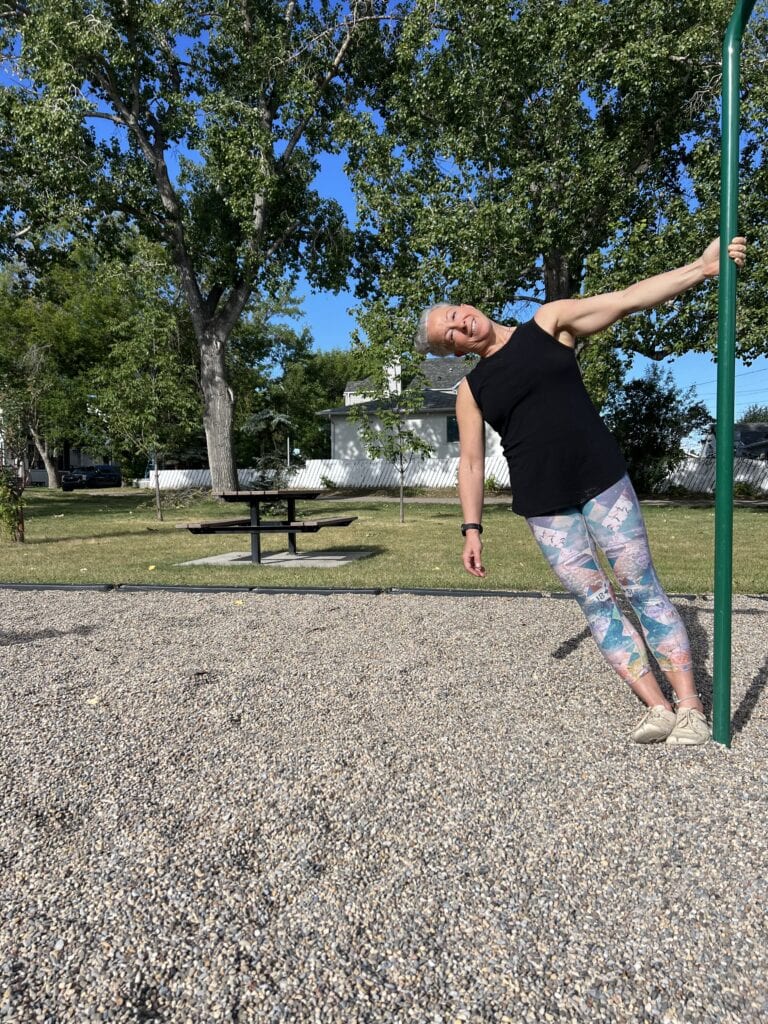
Step One: Start Side Hanging
Why it’s great
Side hanging is a fantastic way to start building strength and mobility with minimal equipment – all you need is a door frame! It’s less intense than a full hang, making it the perfect starting point for beginners.
Side hanging is also great for lengthening tight chest muscles, improving posture, and opening up the shoulders for better overall mobility!
How to vary it
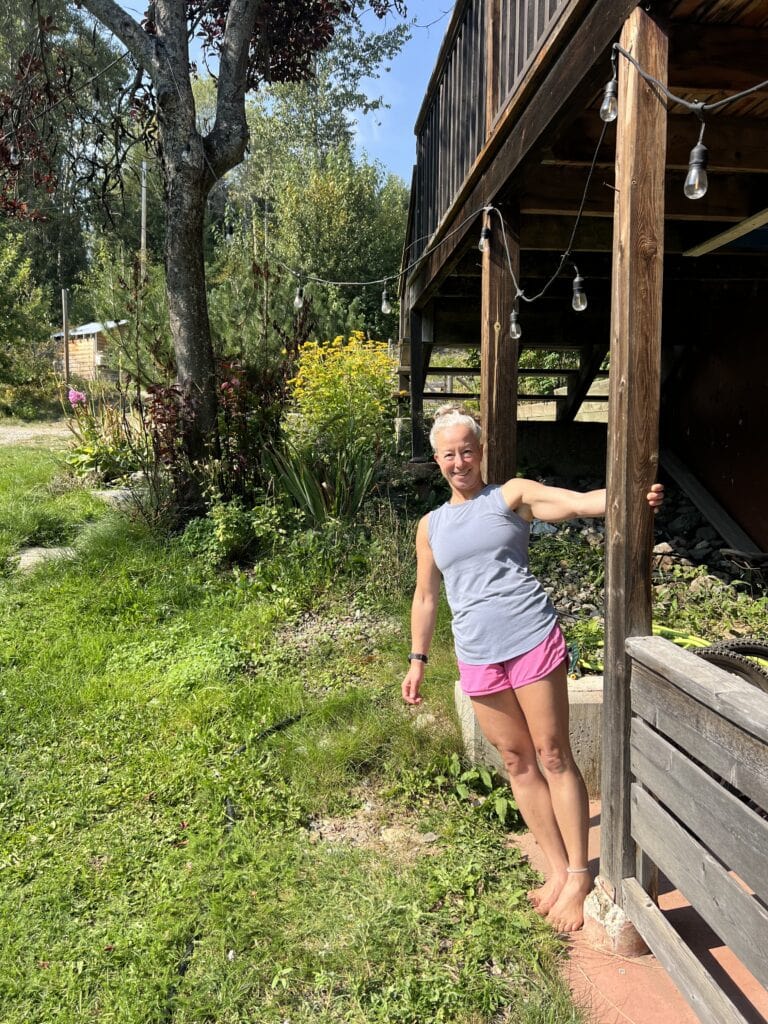
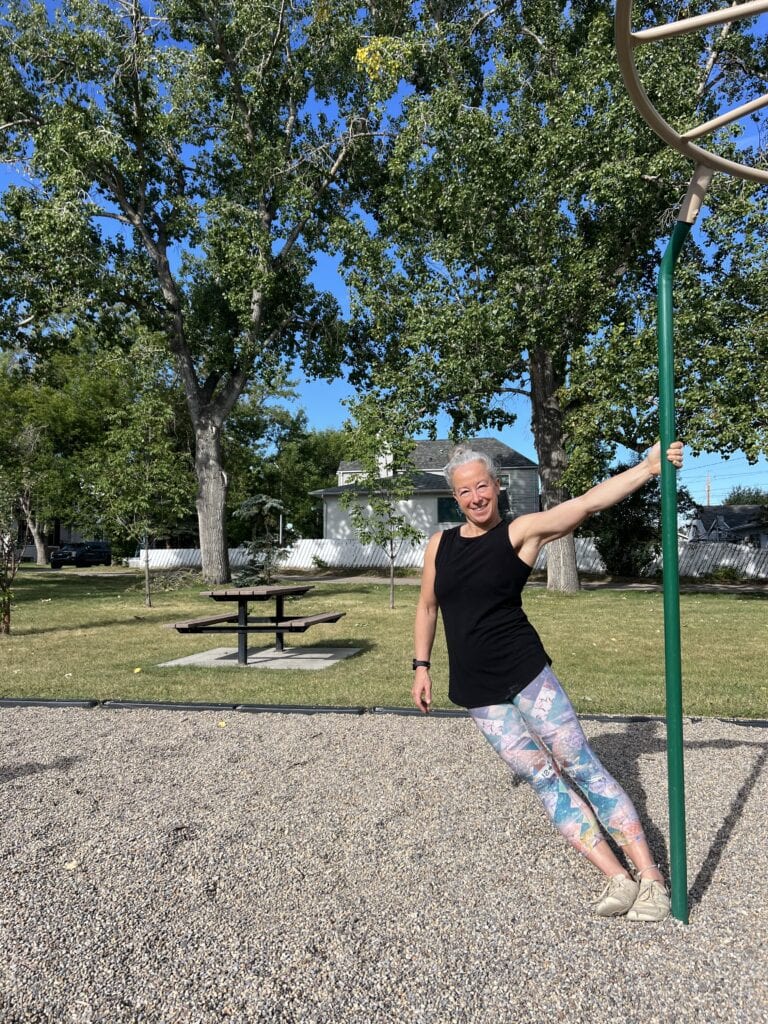
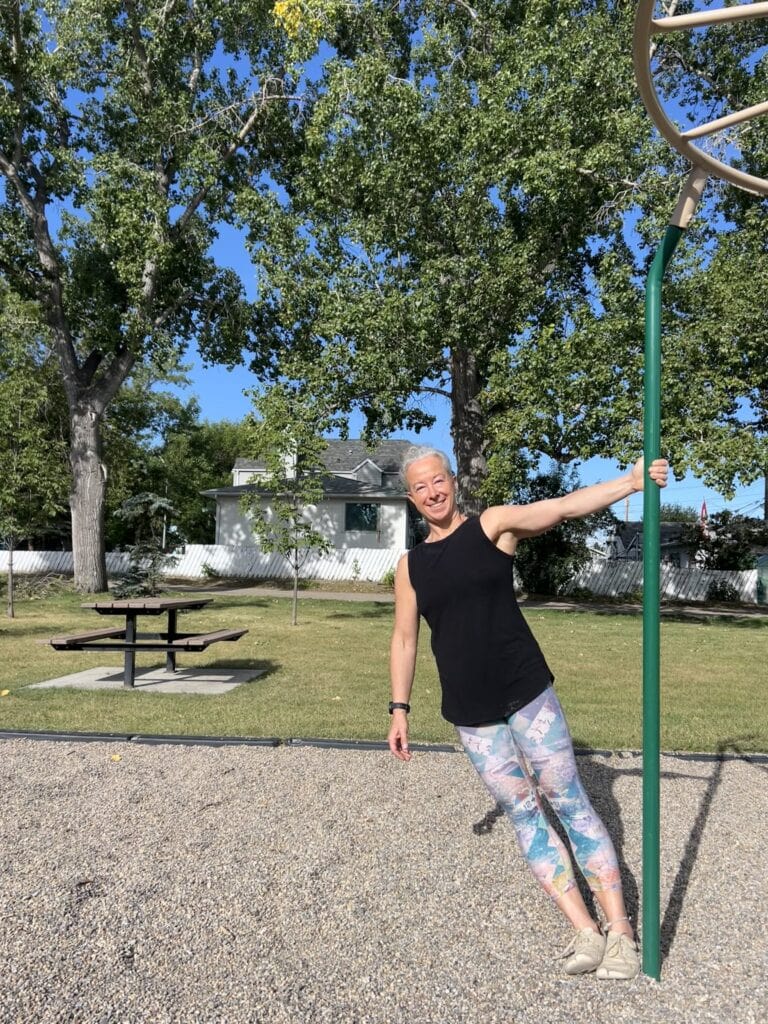
Our bodies crave variety and there are lots of ways to change up your side hanging. Move your feet away from your hand to make it easier or move your feet closer to your hand to make it harder.
You can also bend your neck to the side for a great neck stretch!
Play around with dropping your hip for a side stretch or keeping your body straight, which uses more core strength.
Make sure you’re getting the most out of side hanging
Technique matters when it comes to hanging! Here are three tips to optimize your side hanging!
1️⃣ Make sure to keep your ribs down! This is especially important for overhead hanging but it matters for side hanging too – it’s never helpful to overuse our spines, even by accident! (Not sure what I mean? Grab my FREE Ribcage Magic series here.)
2️⃣ Remember to keep your elbow pits facing up. Most of us are missing external shoulder rotation and this option will help nourish better shoulder health. Here’s a quick video showing what I mean:
3️⃣ Keep your arm a bit in front of your body as you side hang – not straight out to the side. Holding your arm a little bit in front will help you access your chest muscles better as you hang (you can also think of this as turning your body towards your arm about 30 degrees)
Hot tip: Use this hand stretch to take breaks
The first thing to go is always your hands! Make sure to take lots of breaks & use this awesome stretch to give your hands some love in between your hangs.
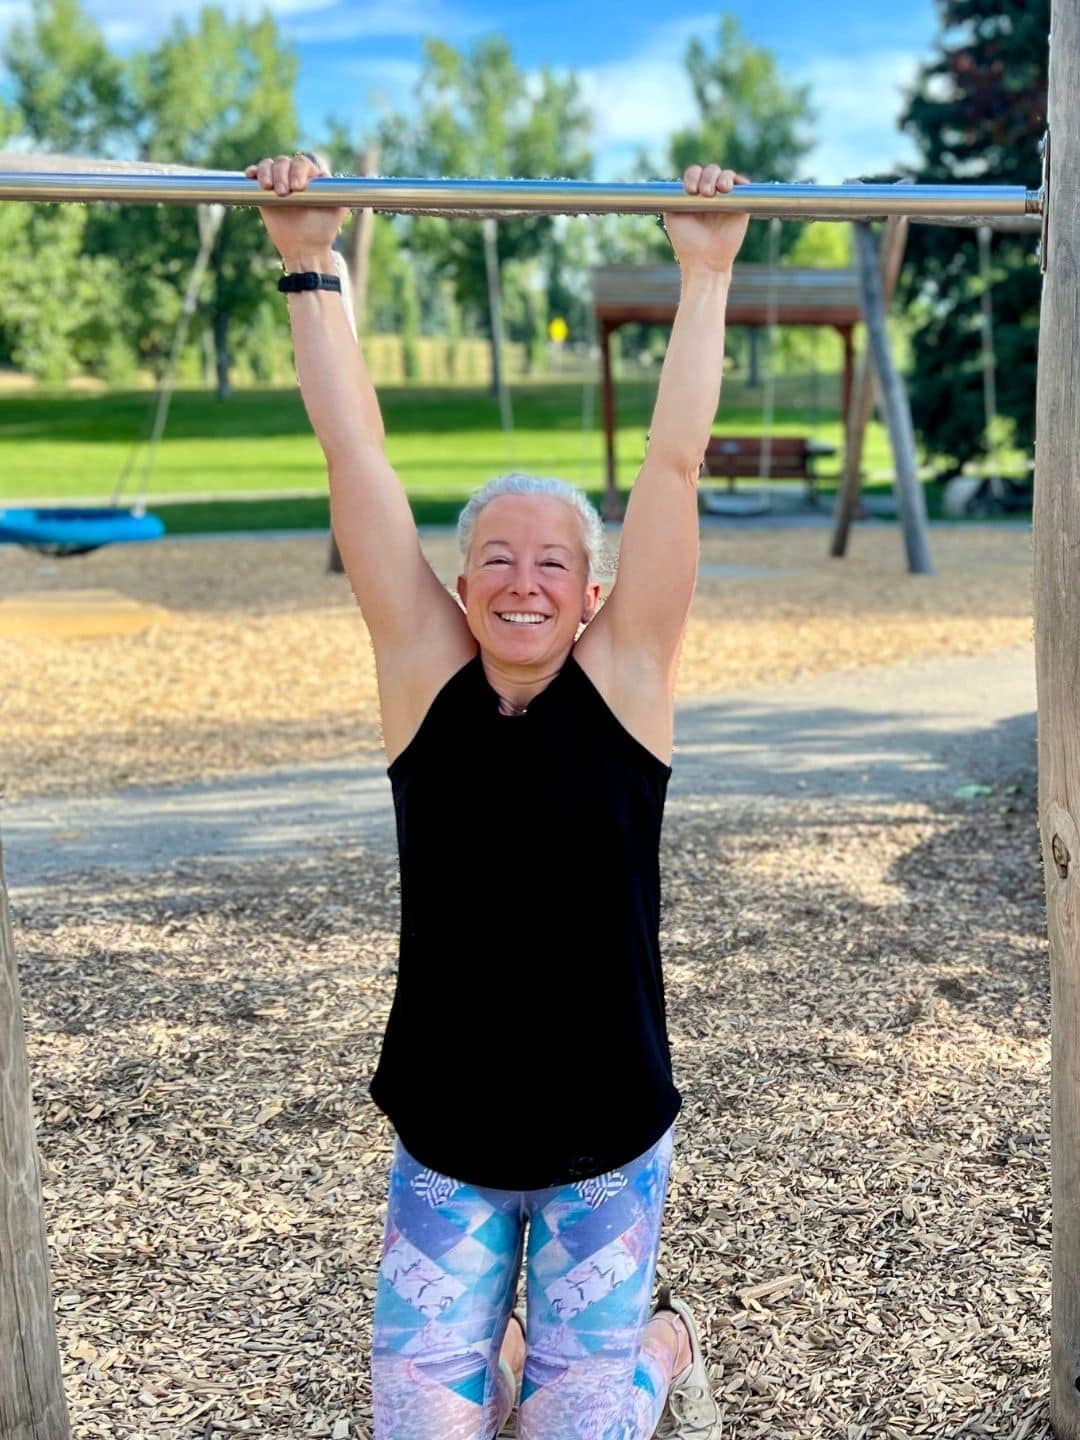
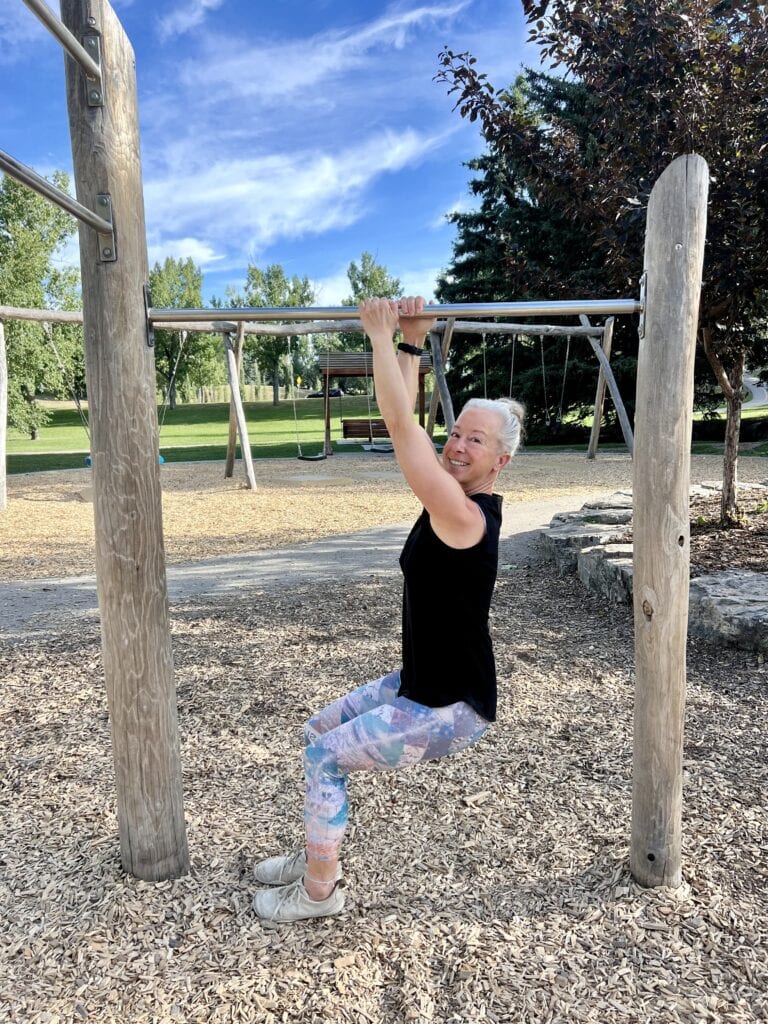
Step Two: Try An Overhead Grip…But Keep Your Feet On The Ground
Why it’s great
Hanging with your feet on the ground is the KEY to building up your hanging. Keeping your feet on the ground means lower loads, so you can start hanging for longer periods without getting exhausted, which helps build your muscle & tendon strength slowly and safely (and TBH, it’s still quite hard – you’ll be amazed!)
Feet on the ground makes hanging more accessible, so you get more time enjoying the benefits of hanging – like improved grip strength, shoulder mobility, and core engagement.
How to vary it
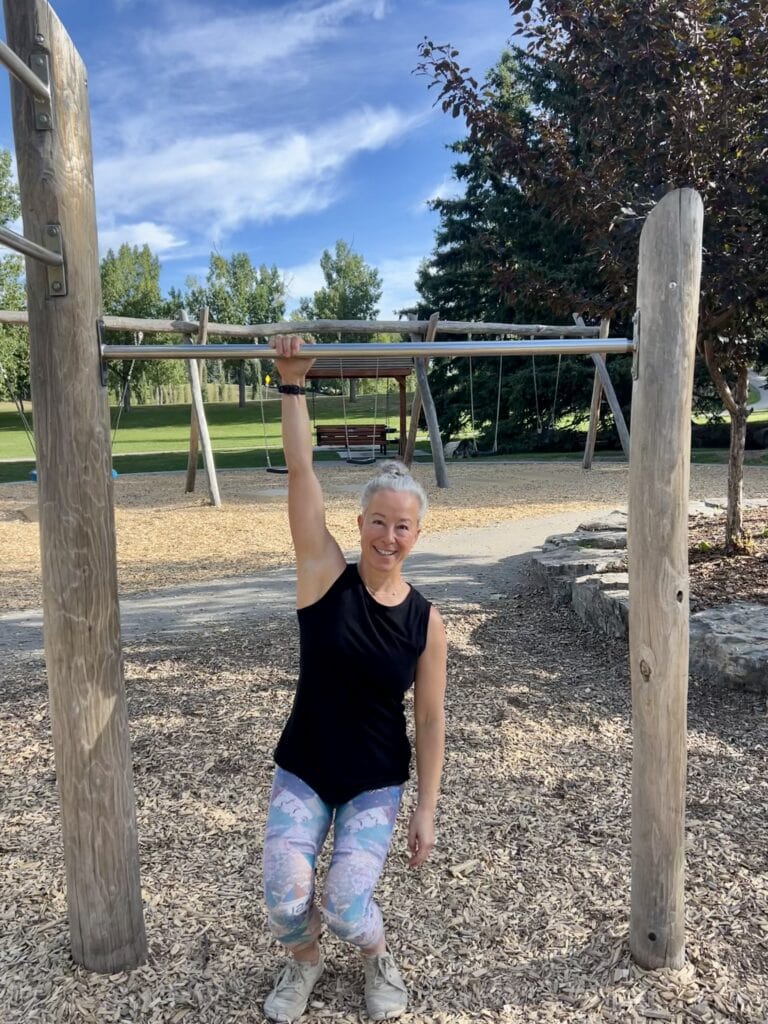
Try changing your hand position while you’re hanging with your feet on the ground.
You can also try using just one arm to hang. Hanging with a single arm builds even more strength, prepares you for dynamically swinging across the monkey bars, and teaches you to stabilize your shoulder so you don’t twist around.
One final option is to explore the difference between passive and active hanging. Neither is wrong but if you’re trying to build muscle, most of your hanging should be active. For active hanging, pull your shoulders down away from your ears – this uses the muscles of the shoulder blades and back instead of letting your weight hang off your connective tissue. Spend some time going slowly back and forth from passive to active (like I do in this video) to really build muscle & control!
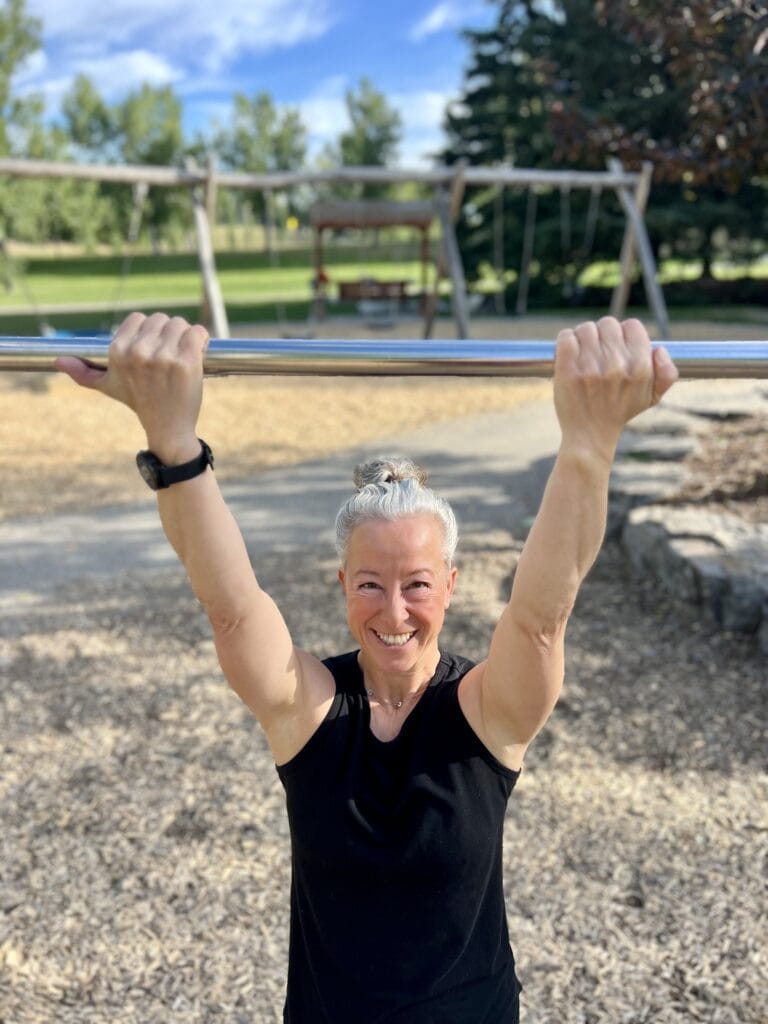
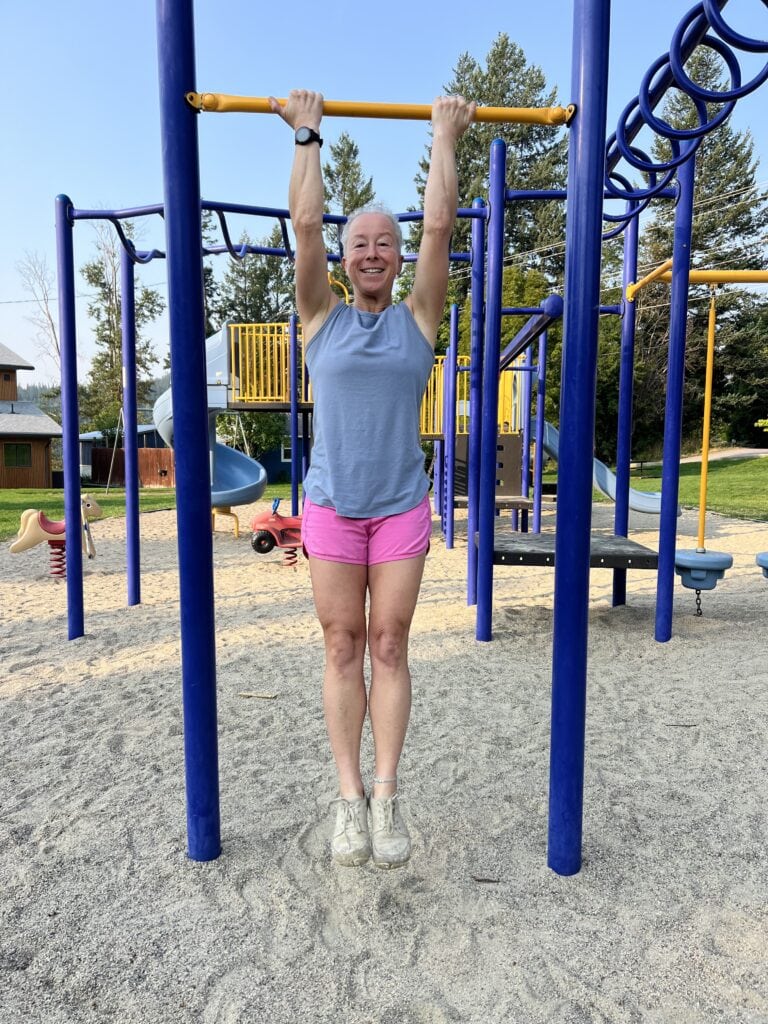
Step Three: Start Hanging With Feet Off The Ground
Why it’s great
Time to start working on Step 3 – hanging with your feet off the ground.
Remember – this requires lots of upper body strength and mobility so make sure you take the time to gradually build up by spending lots of time with your feet ON the ground first!
When you’re ready, hanging with your feet OFF the ground will increase the loads on your shoulders (in a good way!) and you can start exploring swinging in place – so you’ll be building still more strength & mobility!
How to vary it
This is very similar to Step One, but a lot harder now because you’re holding your full body weight.
Try the same hand positions from Step One.
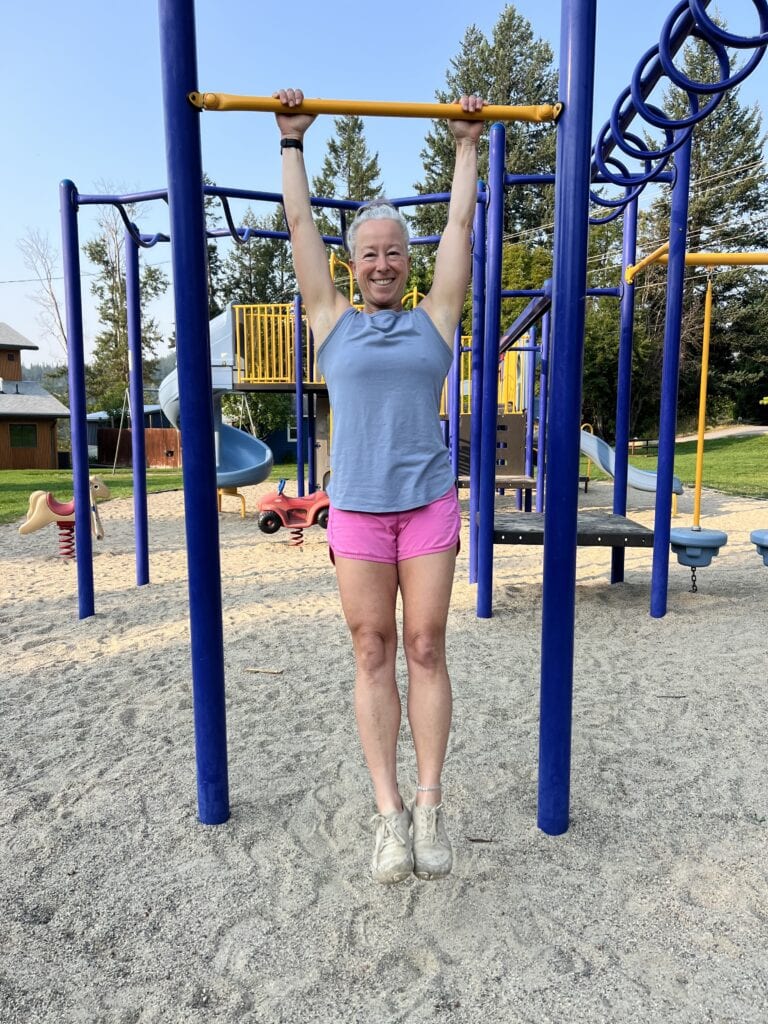
It’s important to build up your hang time slowly. Start by timing how long you can stay up and use that as your baseline. From there you can start to add on, gradually increasing how long you hang with your feet off the ground. Make sure to do some hand stretches afterwards especially if you decide to do another round of hanging!
What’s a good goal? Expect to start out around 5-10 seconds. From there you can work up to 60-90 seconds, or more if you like! But once you have a solid minute+ hang you’re ready to tackle swinging.
Hot tip: Speed up your progress
Progress faster by adding some feet ON the ground hanging when you can no longer stay up with your feet off the ground. This is also a great way to keep improving your grip strength!
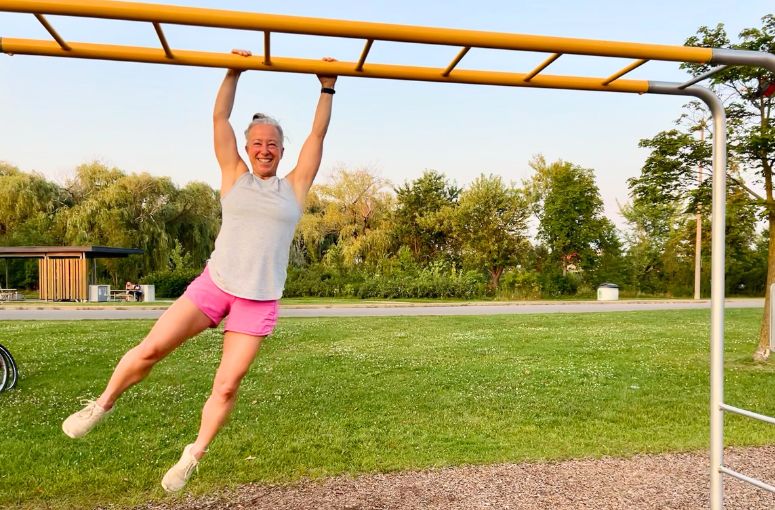
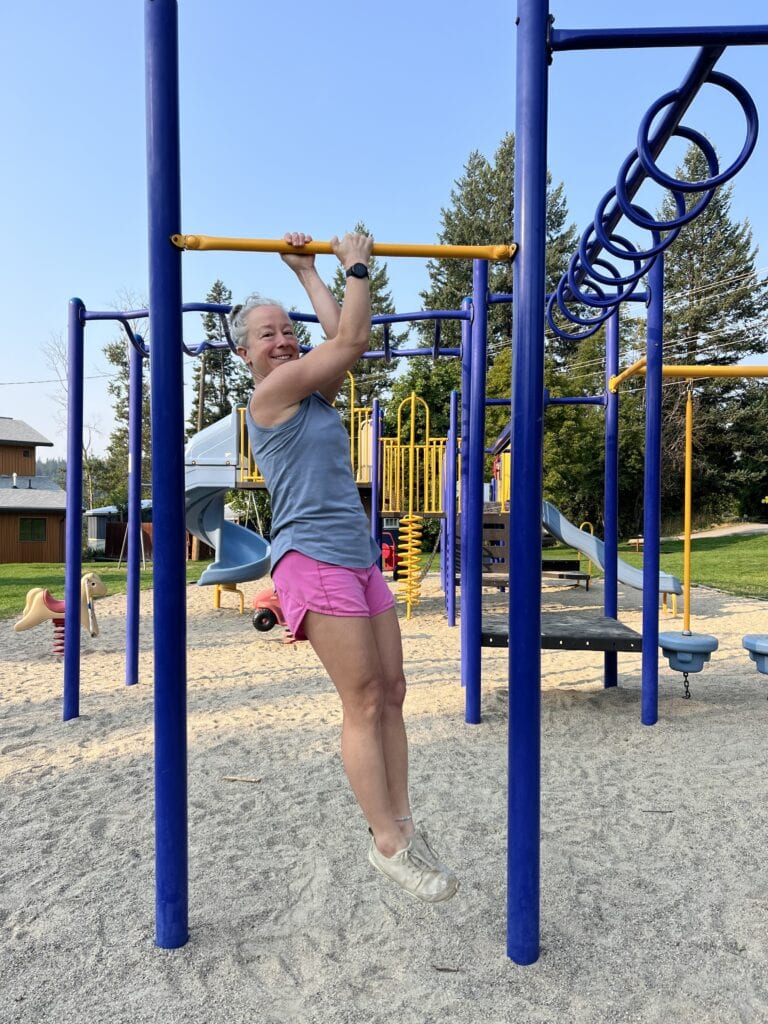
Step Four: Start Swinging
Swinging in place is your final step before you start hitting the monkey bars like a proper 12 year old!
Why it’s great
Swinging takes some practice, but it’s a fun & rewarding way to build upper body strength, shoulder mobility, and coordination. It will build up your hand skin and help you get used to the feeling (and loads) of swinging while you’re still securely holding on with both hands! It may seem challenging at first, but you’ll totally get it with practice.
I recommend spending lots of time on side swinging first – in my opinion, it’s actually a bit easier than static hanging because one arm gets a break while the other one is working!
How to vary it
Here are two ways to start practicing swinging: